Creating a FreeCAD 3D view inside Jupyter Notebooks - GSoC 2020
Accidentally while creating a lamp I ended up learning FreeCAD. FreeCAD is an amazing open source CAD program. It still amazes me that people created this for free in their spare time. The software is still in it’s alpha version and is far from perfect as you can tell by the current release version number 0.19 and the heated discussions around how soon a 1.0 release could be reached. Still it’s very usable and once you get the gist of it you can create powerful and complex designs. FreeCADs approach to CAD is a parametric design. That means that you specify shapes with parameters. E.g. you base the 3D shape on a 2D drawing. The geometric figures of the 2D drawing - circles, recatangles, lines - are all constrained with parameters. Then you create a 3D shape out of your 2D sketch, for example by extruding it. And every step is based on certain parameters that can reference previous parameters. It’s basically visual programming. Is FreeCAD NP-complete? Probably, but that’s a topic for another time. Anyways. The parametric approach allows you to easily modify your design at any time just by tuning these parameters. For example with my lamp design the number of aluminium bars is a parameter I can simply tweak at any point in time. All the relevant details depending on this number will be automatically recomputed by FreeCAD. This gives great flexibility and allows for fast customization.
Google Summer of Code (GSoC) is a program run by Google that gives stipends to students who over a period of three months implement an open source project with a mentor organization. Among the organizations are well known ones like Arduino, Ruby or Wikimedia. But there are also more niche organizations that are not so widely known. The great part about GSoC is that students apply for specific projects, so you yourself determine how exciting the thing you work on is if you get accepted. This and the work from home aspects are definitely something a lot of internships can’t offer. For me it started with seeing the potential of first designing a parametric lamp and then creating a custom web page where you could change the parameters to your liking and see a live 3D rendering of the changed lamp. Then you just download the 3D files and 3D-print the lamp. I was heavily inspired by the card1o cover generator created with OpenSCAD. After some research I realized that something comparable to rendering OpenSCAD in the web browser does not exist for FreeCAD yet. I already knew about GSoC and to my suprise FreeCAD was one of the open source organizations taking part in GSoC 2020.
![]()
The result from printing the cover generator customized card1o badge cover. It's such a cool experience to customize something so effortlessly and to then have it in your hands. Unlike designing everything you don't have to think a about it too much, but you still feel more connected to the end product since it has a personal touch. That's the experience I wanted to create for my lamp design.
I sent out two applications: A better IPython and Jupyter Notebook Integration for FreeCAD and Measurement tool for FreeCAD. In the end the first one was chosen. It was closer to my original idea that got me excited and on the path of applying. I definitely didn’t expect the application to succeed, but that might just be the classic imposter syndrome. I put in quite some thought researching the topic and contacted some of the previous students, I even managed to email the student who applied for the exact same idea a couple years before. He was so nice to send me a link to his old application so that I could make us of the feedback he got on his application from back then. After the acceptance the project started moving. The FreeCAD community is mainly organized in an old school internet forum. I haven’t used one since I was active on an RC car forum when I was 14 before I signed up on forum.freecadweb.org. Here is the project thread where I posted questions and updates on work progress: link. For the unlikely case that you haven’t read through my 8 page project application let me summarize it for you. Or actually the document is very well written so let me quote it instead:
Currently, FreeCAD’s IPython and Jupyter Notebook integration can only provide visualization by running the entire FreeCAD GUI alongside the notebook. Besides not being elegant it brings many problems with it, like not being able to save the visualizations inside the notebook for sharing or bringing visual complexity of the entire GUI into the view instead of just displaying the 3D model. It is therefore important to find a way to visualize FreeCAD’s 3D scene in the IPython display system as supported by Jupyter Notebook.
Tackling the open issue “IPython / Jupyter support” I aim to implement a IPython compatible visualization of FreeCAD’s 3D Open Inventor scene graph. To achieve this I intend to choose a suitable JavaScript library able to render a 3D scene graph and to implement a mapping between it and the Open Inventor scene graph. After this as a byproduct I want to implement a better WebGL export based on the scene graph instead of document objects as currently found in FreeCAD. For this I can reuse and integrate the scene graph mapping component. Lastly I want to document the results in the Wiki and create an example Jupyter notebook.
To make things a bit more clear, Juypter Notebook is an multi purpose computation evironment, which basically means you can run interactive code on the web. Since Juypter Notebook and FreeCAD both support Python this is a match made in heaven. With Jupyter you can quickly create interactive UIs and mix them with text into a great experience for learning, communicating and experimenting. Opening this space to FreeCAD users and developers brings potentially endless new possibilities. You get access to all the powerful Jupyter widgets that make it so popular. I certainly hope some of you reading this will take this idea further by writing that interactive Python scripting tutorial inside a notebook, by writing that new workbench which will have a widget for notebooks, by improving your workbenches Python API so you can easily access all GUI functions inside a notebook.
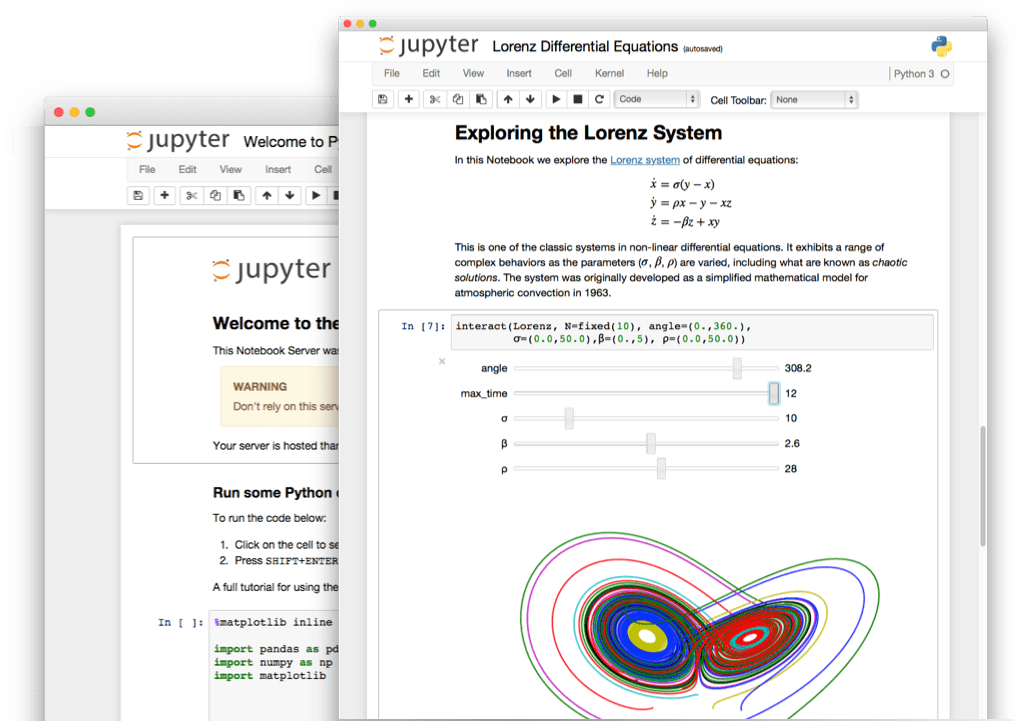
"The Jupyter Notebook is an open-source web application that allows you to create and share documents that contain live code, equations, visualizations and narrative text. Uses include: data cleaning and transformation, numerical simulation, statistical modeling, data visualization, machine learning, and much more." (Quote and image from juypter.org)
During this GSoC I successfully implemented a 3D viewer that can display FreeCAD objects inside a notebook. Currently it’s still limited to the Part Workbench, I still have to implement modifications to handle scene objects created by other workbenches. The current project is a good base to build upon. The basic features working right now are:
- displaying FreeCAD scene graph face sets
- displaying FreeCAD scene graph line sets
- setting view parameters according to FreeCAD scene graph
- position
- rotation
- metalness
- transparency
- color
- emissive color
- highlighting FreeCAD object faces
- selecting FreeCAD object faces
- displaying FreeCAD object edges indices
- selecting FreeCAD object edges
- displaying FreeCAD object faces indices
- rotating the view
- zooming the view
There obviously are many more features that should be implemented over time to make this project maximally useful. For example moving the view, view controls matching the FreeCAD key combinations and having the standard FreeCAD view buttons (“top”, “bottom”, etc.) available would be great.

It's not much, but it's honest work. This project demo shows the benefits of using the Jupyter Notebook environment. You can quickly code an interactive UI that creates objects in a FreeCAD document and removes them again. Also you can see that the viewer will tell you the index of faces and edges. This is important if you want to script FreeCAD entirely in a notebook.
Here is an example Jupyter Notebook that uses the freecadviewer Python module I created during the GSoC. Be aware that due to the missing Python kernel (this is just a static site) most of the interactivity is lost. For full interactivity you should run the notebook yourself. The link to the full static notebook is here. But still you can pan and zoom the 3D views inside the notebook. Also I recommend viewing this on a bigger screen than a smartphone, even though mobile works, it’s not ideal:
As you probably already have guessed, this enables you to embed interactive FreeCAD views on your web sites, e.g. like this:
You get this cool feature almost for free thanks to Jupyter and without touching any Javascript. I created an example notebook to illustrate the process and potential. The link to the full static notebook is here:
But enough with the “Why” let’s get to the “How” aka technical details shall we? Since the goal is to have a very general 3D viewer solution that will be able to display any content that exists inside the desktop applications 3D view we need to work directly with it’s scene graph. So how does FreeCAD generate it’s 3D view? Internally FreeCAD relies on a C++ CAD library called Open Cascade that implements 2D and 3D geometric modelling. You could say Open Cascade is FreeCADs CAD kernel. Internally Open Cascade represents Geometries mathematically in potentially infinite resulution. The visualization on the other hand is realized with a probably not that widely know framework called Coin3D which itself is based on a format called Open Inventor:
Coin is an OpenGL-based, 3D graphics library that has its roots in the Open Inventor 2.1 API, which Coin still is compatible with.
If you are not familiar with Open Inventor, it is a scene-graph based, retain-mode, rendering and model manipulation, C++ class library, originally designed by SGI. It quickly became the de facto standard graphics library for 3D visualization and visual simulation software in the scientific and engineering community after its release. It also became the basis for the VRML1 file format standard. Several books exists on the subject of Open Inventor, most notably The Inventor Mentor, and The Inventor Toolmaker, both highly recommended for those who wants to learn how to use Open Inventor.
Thankfully someone started creating a Python binding for the Coin3D library as a topic for his masterthesis. It still lives on under the name pivy. This means that I possibly can implement the project entirely in Python. Which has been a very pleasent language to work with so far.
Based on this the plan was to extract the objects from the Coin3D scene graph and to then translate and represent them within a WebGL based library that can be used inside a Jupyter notebook. This meant I might have to touch JavaScript which is not a beauty to work with. After some deliberations I chose pythreejs which is a Jupyter Notebook extension that integrates the infamous ThreeJS with a Python bridge. That meant less JavaScript and a smooth integration into the Jupyter Notebook environment. My previous experiments with directly inserting the ThreeJS JavaScript library all failed horribly. Additionally this means that FreeCAD users and developers already familiar with scripting in Python can modify the Jupyter 3D view themselves with a minimal learning curve.
In the end the task was not extremely complex. All I needed to do was to extract faces and edges from the Coin3D scene graph and then reassemble it in a slightly modified structure inside pythreejs. The fundamental structure between both 3D libraries is similar enough that I can represent Coin3D in ThreeJS without major changes. What still made this project a challenge was starting from zero knowledge about FreeCADs internals and computer graphics. Additionally some bugs alsways make their way into the project and finding and solving them can take a lot of time. Especially the notebook environment was new for me and made some aspects more complicated. For examples you now also have to take a look at the Javascript console in the browser from time to time to diagnose a problem. Also coordination and communication with many stake holder slows down the progress and it can be especially frustrating if you think you found a bug and then the project is not maintained regularly and you have to watch your issues die silently on Github. Overall it’s still a great experience to work so autonomously on for an open source project that is used by so many people. So I hope there will be some people interested in using FreeCAD inside Jupyter Notebook as well out there.
I will continue to improve the project in the future. You can find the repository here. If you use the module and encounter any issues or just find it useful, don’t hesitate to post to the forum thread or let me know with a tweet or an issue in the repository.
Thanks to my mentors: @ickby, @kkremitzki, @yorik. I’m grateful for them spending time on helping me with the project. Doing this entirely in their spare time is insanely great! Also thanks to the entire FreeCAD community who gave helpful input. I was especially impressed by how much effort @vocx-fc put into reviewing my second pull request to FreeCAD. So this GSoC, also by watching what my fellow students where doing, definitely taught me to appreciate free software and open source even more. ❤️