Matepi - Raspberry Pi meets mate crates - How To
First of all, why would you want a matepi? Well, that’s an easy one: Because it’s awesome! Here are some demo reels showing three possible applications:
So is it hard? That depends on your prior knowledge of soldering, leds, the raspberry pi and coding. In the end it turned out to be less complex than i feared. What do you need to build one yourself? Depending on your preferences the figures might differ:
- 500 (20 as safety buffer) WS2801 led pixels
- 30 “Club Mate” crates (It’s quite hard to get your hands on that many)
- 3 x 10 male/female connectors, for power supply
- 20 JST SM Connectors, for data
- A 150 Watt 5V power supply
- 15 metres of three-wire cable, for data (and power supply after seperating)
- 150 metres of aluminium foil
- enough shrinking tube (about 150 small tubes + 50 medium sized ones)
You should furthermore have:
- soldering iron
- solder
- soldering aid
- a cable stripper
To get started every single led on the pixels should be testet for production errors! This was my biggest lesson learned, testing is very important, if you ingnore that, you can end up having to cut out a single led. And soldering a single led in a pixel string isn’t very fun. There is a neat tutorial on details regarding the pixel string on the resourceful Adafruit website. For testing puposes you can simply use the PixelPi library.
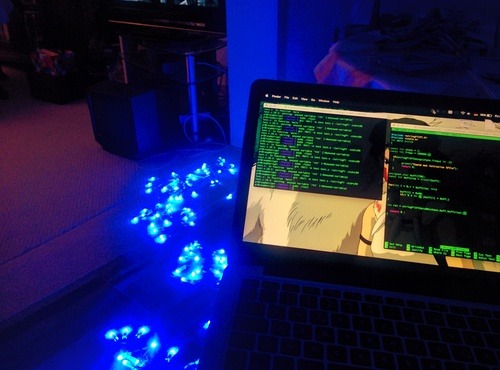
Test driven development also makes sense for hardware duh!
The next step is cleaning the crates and the bottles. After that every bottle has to be wrapped in aluminium foil. Then poke holes in the bottle caps with a screw driver (and a hammer). If that is done, you have to cut the led pixel strings in right length (20) and solder the connectors onto the string endings where necessary (There are about 150 cables to solder, since the pixel strings come in a length of 50).
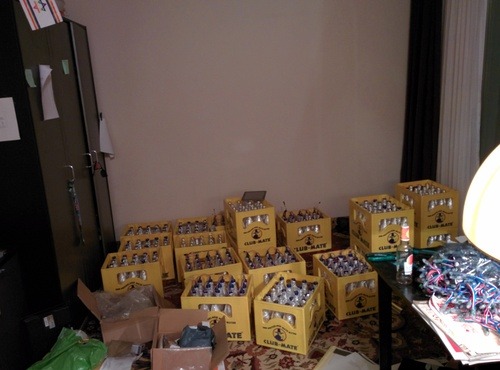
You have to drink a lot of mate…
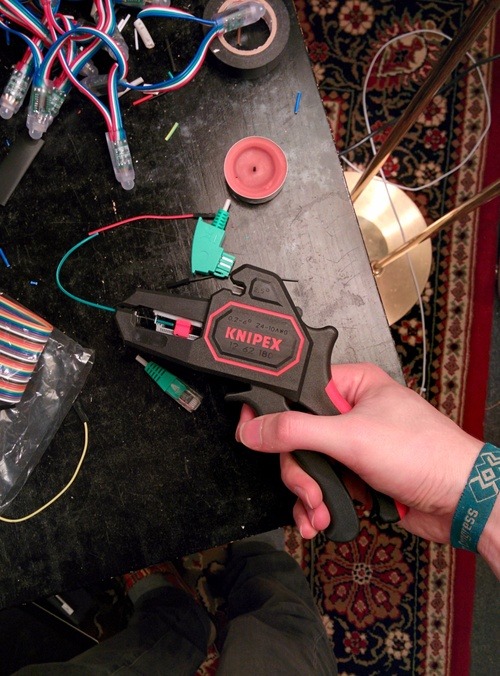
The most useful thing i have bought since a year!
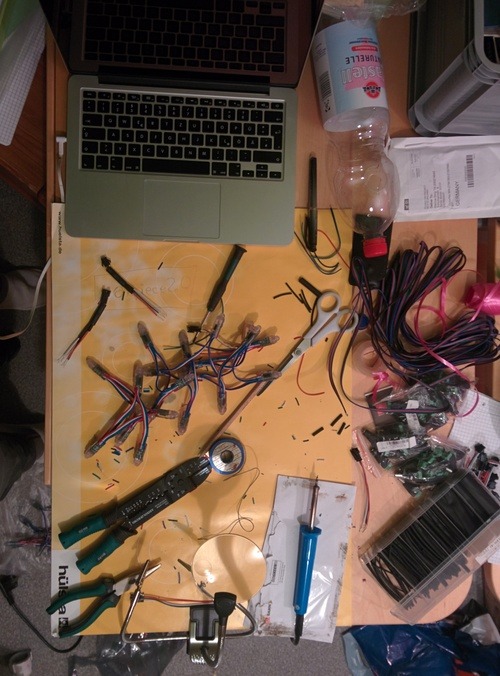
Be prepared to create a total mess
Now just insert the led pixel strings in the bottles. Stack the crates, connect the pixel strings to power supply and to the raspberry pi and you’re ready to go. The crate rows can be directly connected, but you need an extension cord for going to the next row below. With that the hardware part is finished.
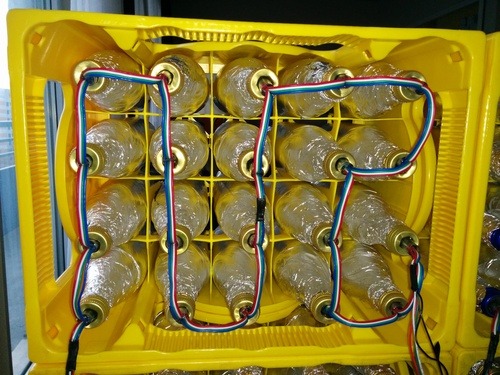
The structure ensures easy connectable endpoints for rows
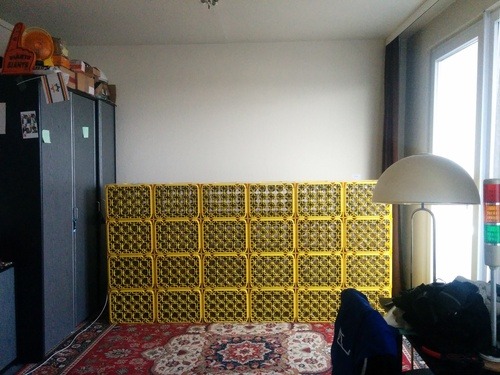
480 leds in 480 bottles in 30 crates consuming about 150 watts power if all leds are lit white
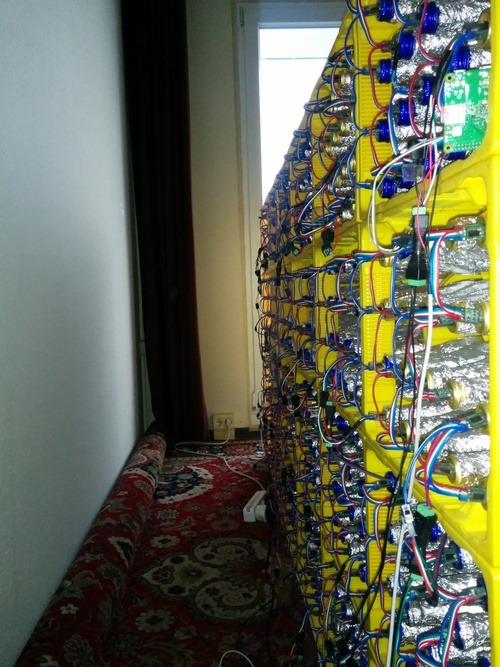
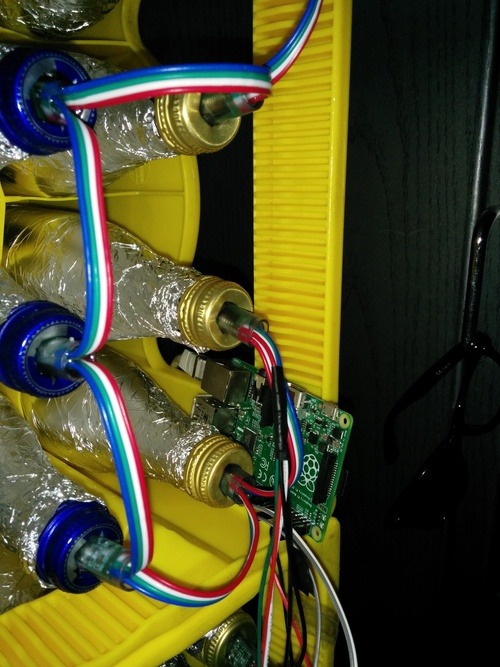
Network connection via ethernet
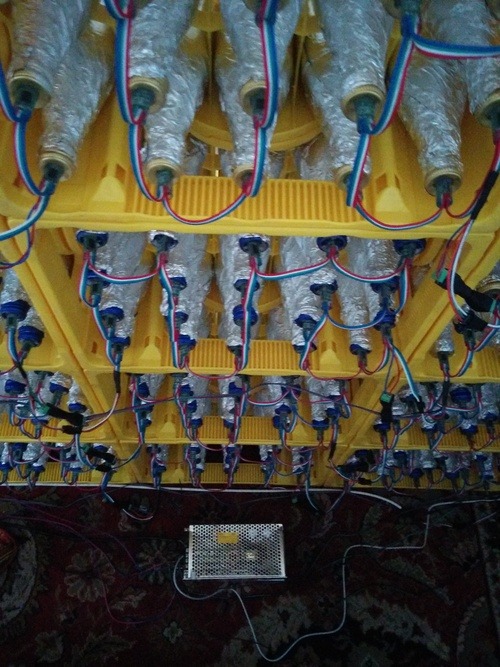
Power supply
For my software implementation i prefered using python for networking and C++ for transforming and pushing the data to the matepi. Unfortunately check summs aren’t implemented yet, which causes some artefacts. The Raspberry pi runs a server which listens on port 1337 for UDP traffic and you can send data with various applications as demoed: Play gifs, stream your webcam, display a spectrum analyzer
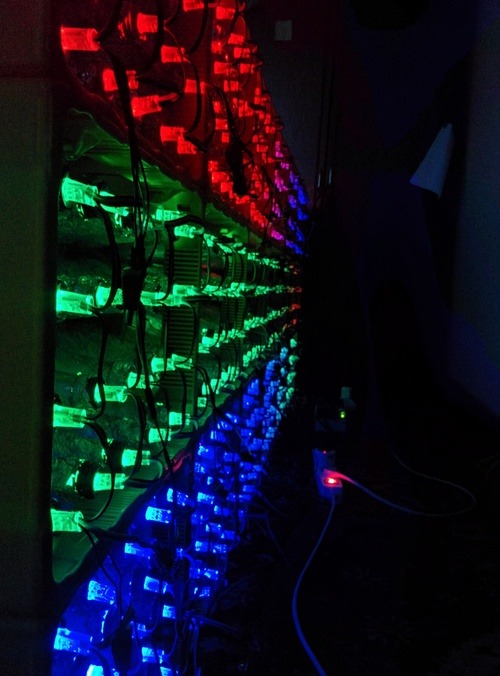
The backside is just as awesome as the front
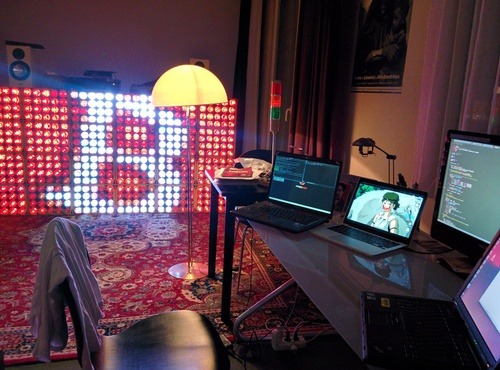
Result: nerd heaven